Sunscreen required
July to November 2021
Steady progress everywhere you looked across these months - bow, hull, interior and deck.
The bow
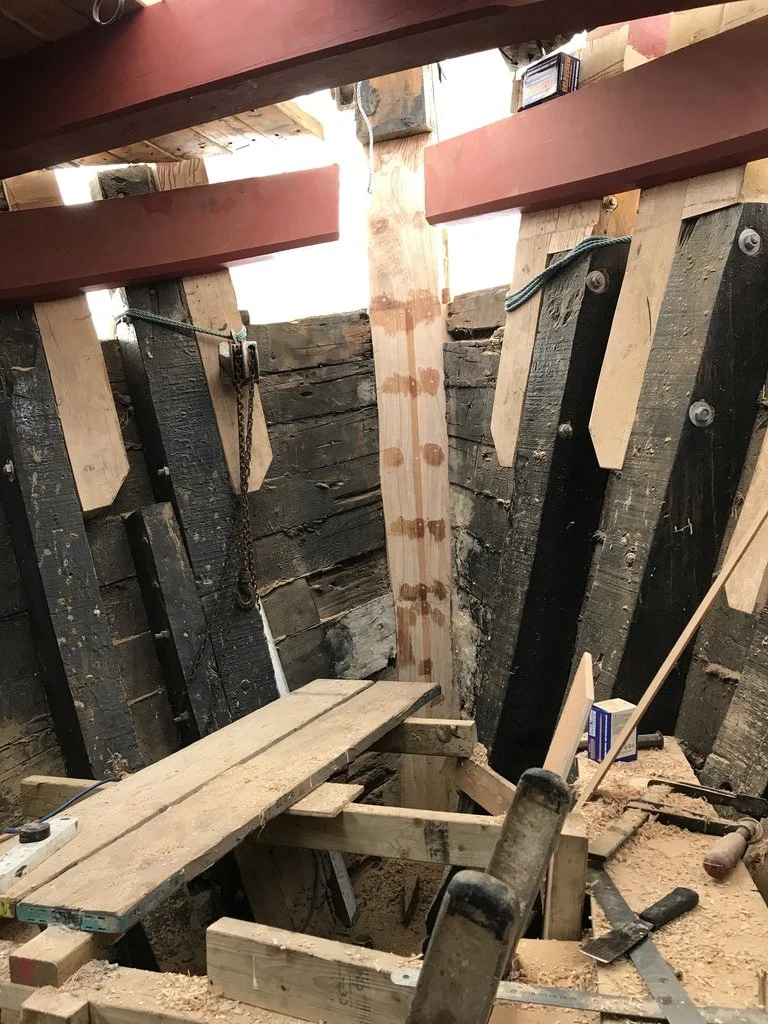
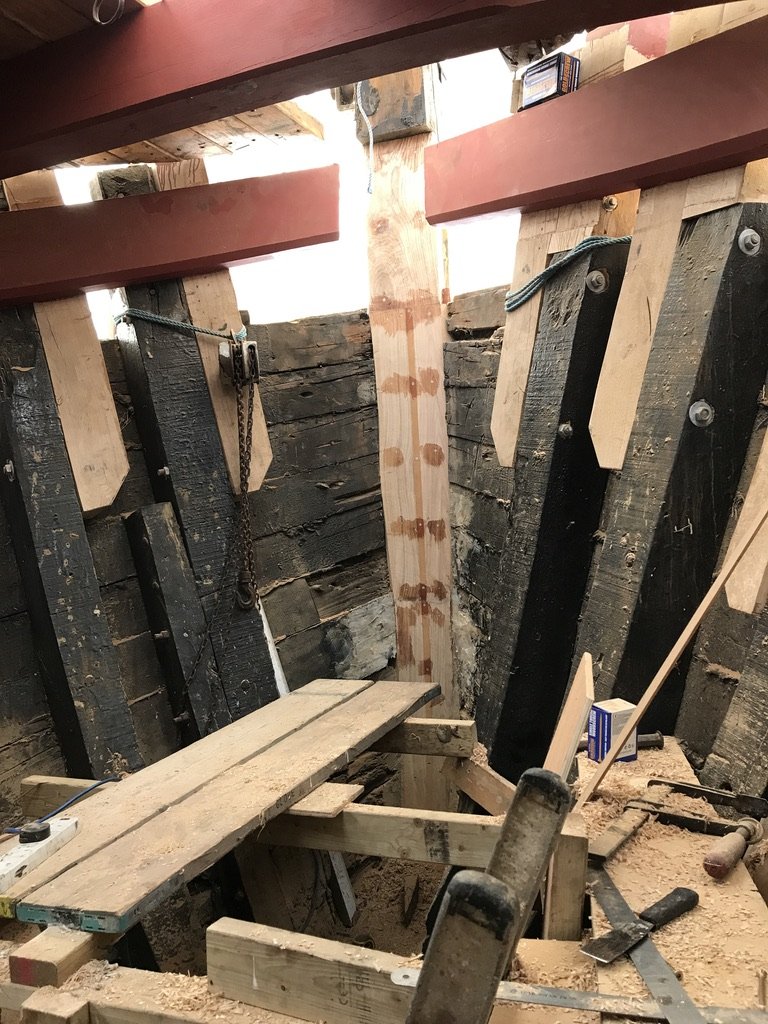
Between summer and autumn, the process of putting strength into the bow continued. All the existing frames were replaced or doubled (another one put alongside and bolted together). The front of the keelson, cut off to allow access to floors below, was replaced and welded in after descaling and a few coats of etch primer and anti-corrosion paint.
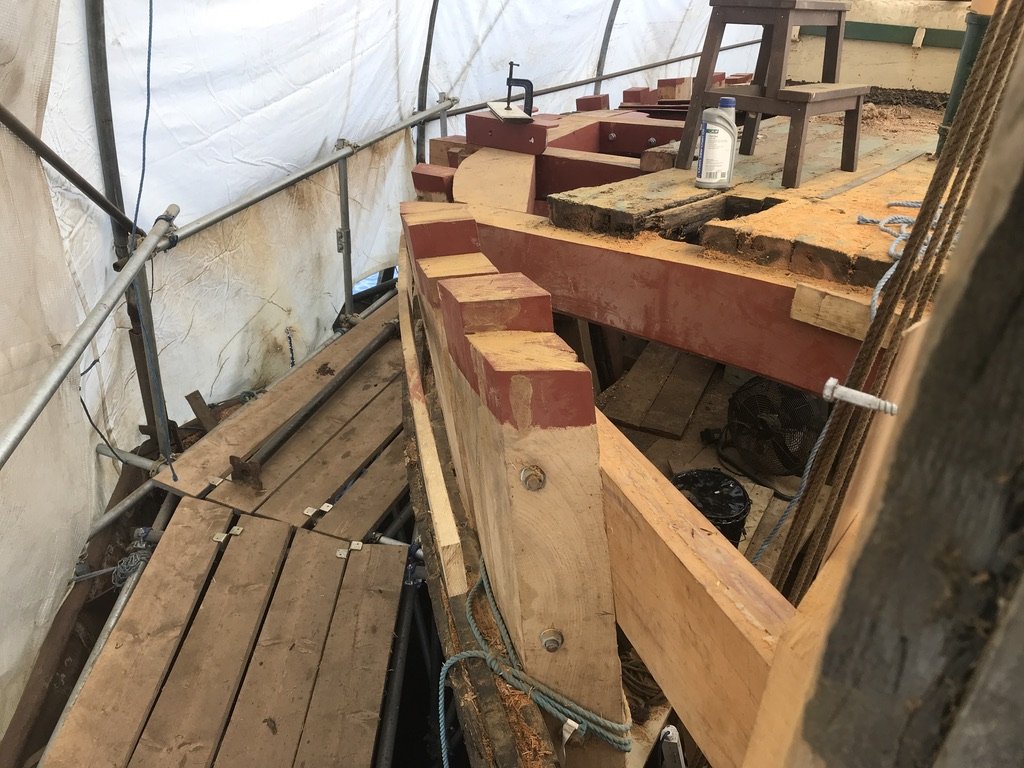
Next the inner wale was laminated. Pieces of Opepe wood 15 inches wide and 1 inch thick were shaped to join all the frame tops around the inside of the hull, stretching from the bow to about 15 feet along the hull. 3 pieces each side were laminated with epoxy resin glue and fixed to the frames with ship nails. The bottom edge was chamfered to make it an attractive and solid looking piece.
At the front of the bow, the apron was replaced. This is the huge piece of timber inside the boat which clamps together the hull plank ends to the stem (which is the front of the boat on the outside). This was constructed in 4 parts. A piece was shaped to match the plank ends on the starboard side and then the port side. A middle section was fitted to make the two side pieces a tight fit. These were all glued together with epoxy resin. Finally a huge piece – 12 feet long and 16 inches. x12 inches was shaped in 3 dimensions to go over the top and keep everything in place.Working out the shapes needed, cutting them, then manhandling it into position was a work of real craftsmanship and took lead Shipwright Tim Goldsack several weeks of intense concentration.
Inside the hull at the top of the apron a large breasthook was fabricated and installed. Made of welded 10mm steel, the breasthook pulls together the port and starboard side inner wales. At the bottom, a steel knee extended the strength of the keelson forward and linked the floor and the apron. It was cut from 15mm sheet steel at Harbex on Sheppey. Steel lodging knees have been fitted to connect frames to beam ends and make the hull structure much more rigid and allow deck bollards to be securely fixed when the time comes.
It means that the bow has tremendous strength built in and the shape of Raybel has been restored.
Beginning the hull planking
Nearly all the frames along the sides have been doubled and faired and the process of restoring the hull planking has started. Tim works one side and Jon Hall the other. To get the shape a spiling board is used, - 7 inch by 1 inch timber board is screwed onto the hull. Measurements up and down from the plank edge are written on the plank and that plank is unscrewed and positioned on a piece of Opepe 1 and a half inches thick and up to 28 feet long to mark out the required hull plank shape. Later the board will be sanded clean of numbers and reused for the next spiling.
The hull plank is cut with circular saw and the bevels, the angles on the edge of the hull planks, are cut with an electric planer and then hand planed. Many strong arms are required to get the heavy hull plank onboard where it is dry fitted and tweaked to make it a tight fit all round. When the shipwright is happy, the inside face is coated with bitumen mastic and a layer of sheathing felt is laid on, then another coating of mastic before the hull plank is lifted into place – this time – sticky and slippery as well as very heavy – and held there while shipwrights get clamps to hold it in place. Wedges are used to push it down tight onto the one below.
When all is good, ship nails are driven in to hold it for the next hundred years. The sheathing felt is overlapped at the top of the plank so that the next one can sit down on top of it. There are three layers of hull planking, each one overlapping by a minimum of 1 and a half inches.
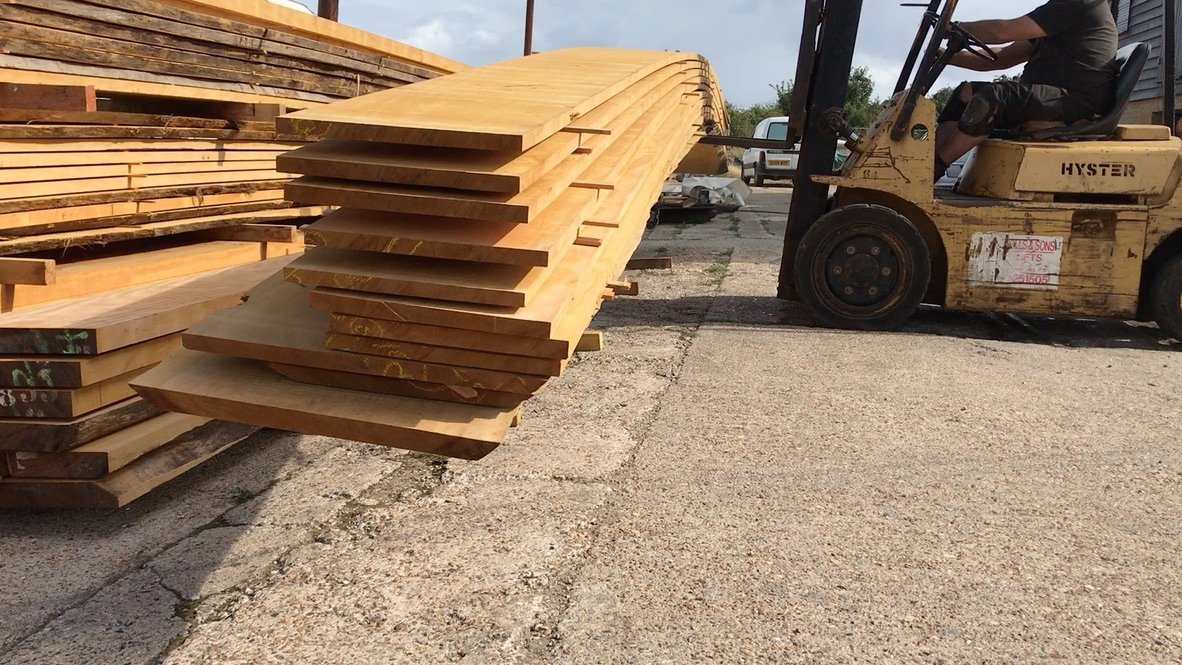
Invariably, planks that curve around a hull are not straight and that means there is a lot of wastage when cutting out the banana shaped planks. Raybel has a pronounced sheerline – ie –the deck lifts up at the front and back – which makes her very pretty and seaworthy, but more timber is needed to make each plank. This is a factor that Shipwright Tim takes into account when ordering the timber and is one reason that only West African Opepe can be used, as it is available in long wide knot free pieces.
Metalworking the knees
On the hard, under the rain canopy, Apprentice Reuben Hopper has been making the custom-built knees that join up so many components of the barge. 100 x 10 mm steel bar is cut to make two sides of the knee. These are put in place and tack welded to get their angles and positions right. Then a sheet of 10mm plate is cut to make a triangular web between the two pieces. A handsome ovolo curve added to the long side. 20mm holes are cut through with a magnetic rotor broach drill to take the galvanised bolts which will secure them. This is all welded up, ground off, derusted and painted with primer before being returned to the barge where matching holes are drilled in the oak frames and beams. Reuben learnt to weld while restoring the family steam engine and he has certainly had lots of practice in the last 6 months.
The scrapers
Our intrepid volunteers John Waterman, Paul Stephen, James Hunt, Stephen Richards, Colin Aker and Alan Hooper, have been scraping everything! Inside the hull, many layers of paint have been scraped off to reveal the existing fixings – This gives the shipwrights a chance of missing them when new fixings go in.
The old decks were scraped to reveal the condition underneath and check for dubious fillers. The lead flashings around the coaming were teased off and sent for recycling. The keelson was descaled with a chipping hammer and the same treatment for the deck bollards. The keelson cheeks have been removed and stowed on deck. The mastcase construction has been investigated then shotblasted, and everything metal painted with red oxide paint.
Inside, accommodation partitions that are in the way have been removed along with all the old electrical and plumbing installation. The huge drum watertanks, supplied many years ago by the Jaffa Orange Juice Company, have been removed to be replaced by less hefty, squarish, versions.
Deck planking
Up top, Assistant Shipwright, Josh Goldsack has turned his hand to fitting decking planks. Supplied as 6 inch by 3 inch by 30 feet long the timber has been machined by volunteers led by Roger Whaley and Kevin Nethersell.
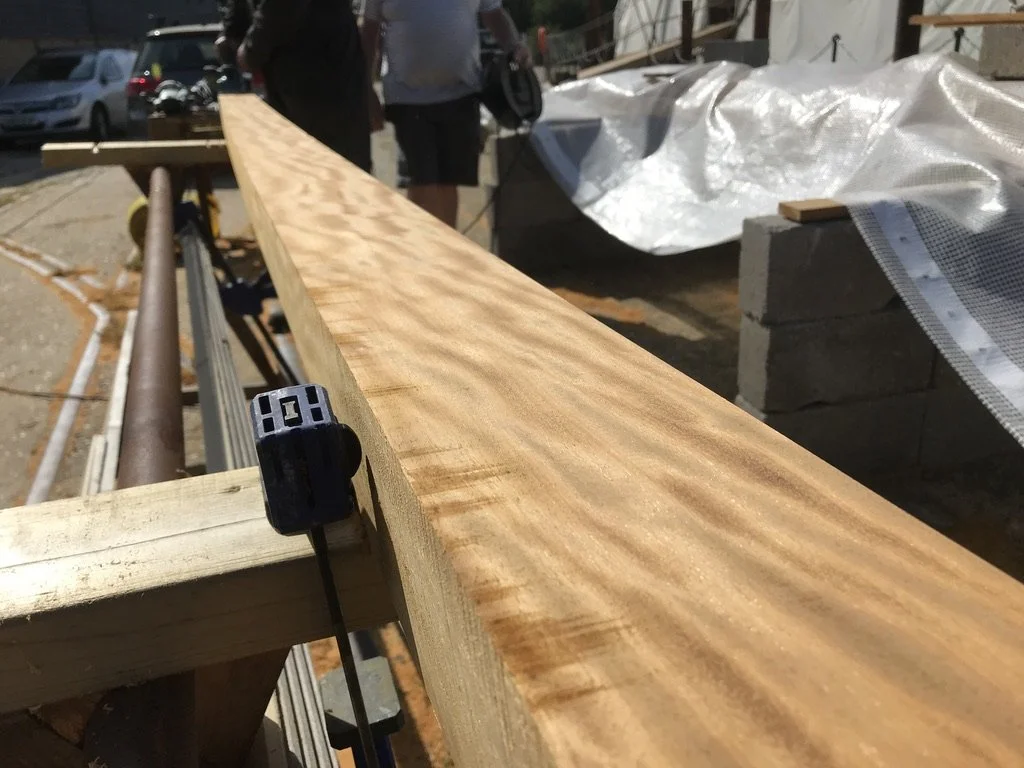
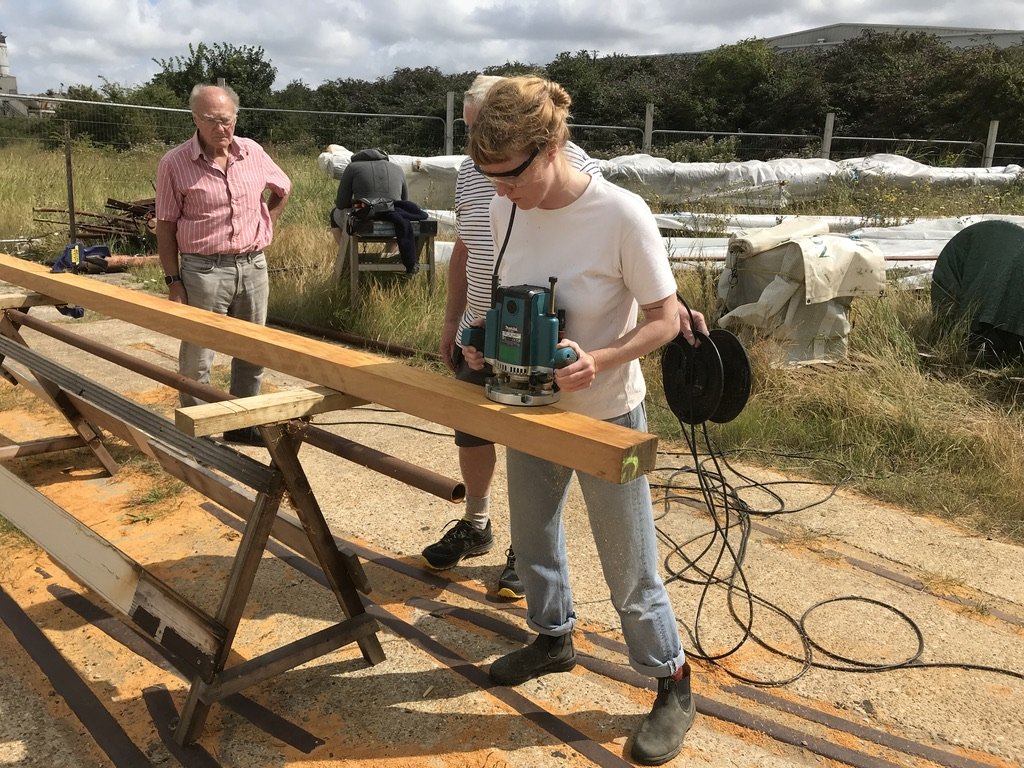
Each plank has had its face edge planed to make it flat. This is used as a straight edge to cut the plank to 5 and a half inches by 3. The face edge is then sanded and a 5mm 45-degree chamfer angle goes either side of the face edge. This is the face of the plank that will go downwards and when people in the barge look up they will see a neat chamfer line between the planks. The top edges of the plank are routed with a specially made 7-degree chamfer cutter to create a caulking seam which will have oakum rammed in and hot pitch poured in to create a watertight deck.
The volunteers have so far done about 1000 feet of timber in this way and await orders from Tim for funny sizes which will be required because not all the decking is being replaced, and some planks are bigger than others. The deck planks are pulled up tight with clamps, drilled, and fixed with 12mm galvanised coach bolts tightened through the steel carlins or nailed into the timber beams at front and back. The coach bolt heads are countersunk and a wooden plug 32mm wide is cut from scrap timber, glued in and the excess cut off. When a reasonable area of deck is done, the deck can be planed flat, and looks …beautiful.
Such a shame to spoil the bare wood decks with hot pitch and paint it – but this isn’t yachty land – this is barging, and it has to last.


